KNOTTIE HELP!
If you are wondering what the heck AW and PIP mean, I've put together a little knottie lingo dictionary. Click here to see it. There are also helpful links, to my favourite bios and other wedding blogs I personally follow. Have fun!
If you're here for knottie codes, I gots them :)
Yes, the boards have recently changed and we no longer can rely on our old ways! So I put together little tutorials on how to:
If you're here for knottie codes, I gots them :)
Yes, the boards have recently changed and we no longer can rely on our old ways! So I put together little tutorials on how to:
- Put a picture in your post (PIP = picture in post)
- Put a picture in your siggy
- Put a wedding ticker in your siggy
- Link your bio in your siggy
HOW TO: Put a picture in your post.
- Step 1: While on the SoFla board, click on "Write New Post"
Clicky!
- Step 2: Once you're here:
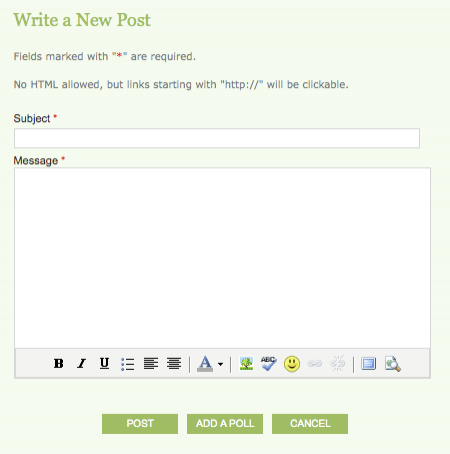
See the Format bar at the bottom of the text box? The B I U bar? Okay, next (left) to the spellcheck (ABC with the little blue check) is the picture of a little tree. Click it! This will appear:
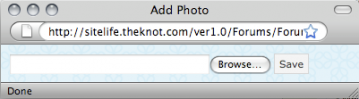
- Step 3: Click on "Browse", choose your picture, and then "SAVE"
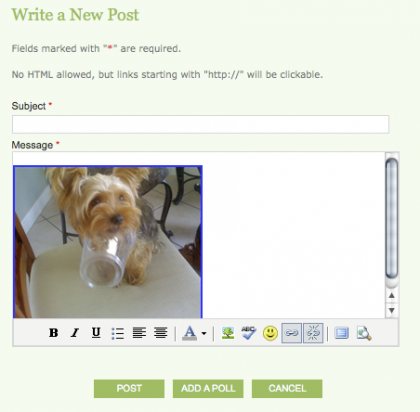
Voila! There's a picture in your post :)
HOW TO: Put a picture in your siggy.
- Step 1: Have a picture ready. See mine? Yay, step 1.

- Step 2: Upload your picture to a picture hosting server. I like photobucket (http://www.photobucket.com).
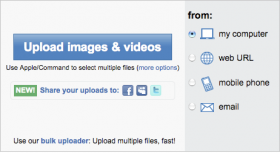
Click on 'Upload images & videos'. Then choose your picture and it will upload itself!
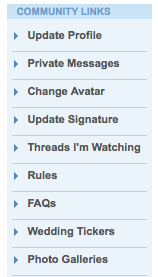
- Step 3: Go to the SoFla board, and see that menu to the left? It's picture below:

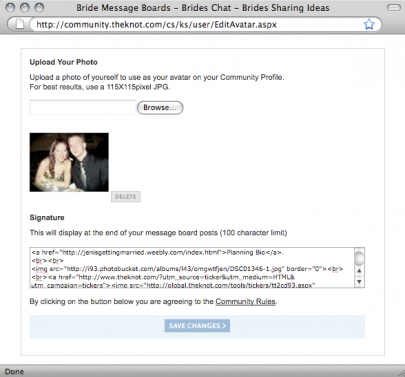
Okay, now click on "UPDATE SIGNATURE".This link should take you to a page that more or less will look like this:
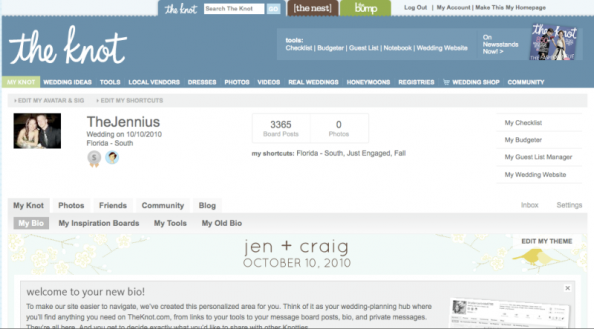
Don't get scared, all this junk is never used, keep following the instructions!
- Step 4: Click on "EDIT MY AVATAR AND SIG"
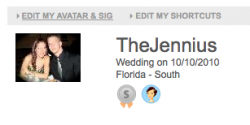
This is a zoom in of the previous screen cap. See what's underlined? Click it!
- Step 5: This is what you get in a new window (and keep it open!):
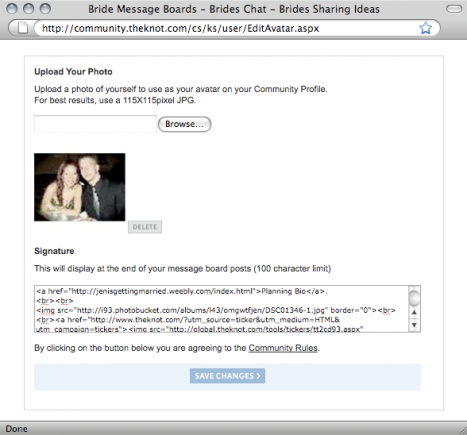
Don't mind the crazy HTML code I have. We'll get there!
- Step 6: Now go back to your photobucket account and Copy & Paste the URL (JUST the "Direct Link").
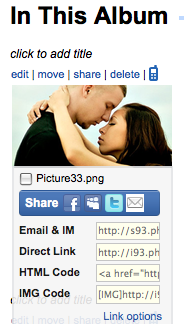
MAKE SURE YOU COPY AND PASTE THE DIRECT LINK!
ALTERNATIVE: If you feel your photobucket URL is way too long,
go to TinyURL.com, and copy and paste into the box:
go to TinyURL.com, and copy and paste into the box:
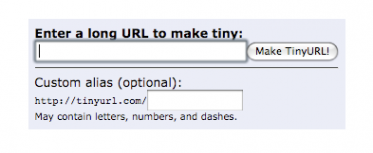
Paste where it says, and click 'Make TinyURL!'
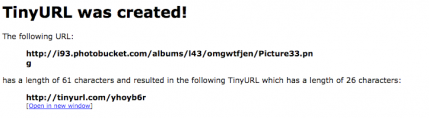
This is what you get. Now copy & paste your TinyURL!
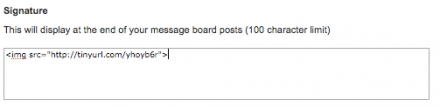
- Step 7: Go back to the window you had left open, and paste your URL.
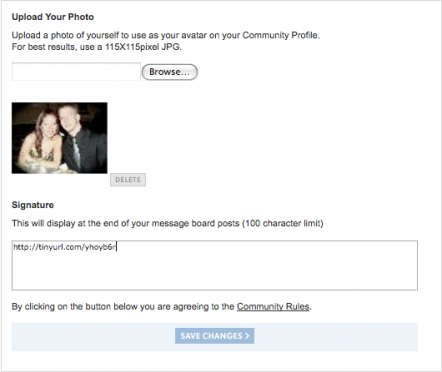
Like this :)
- Step 8: Type the following HTML code around your URL
<img src="YOUR URL HERE!">
Almost there!
- Step 9: Click "Save Changes"
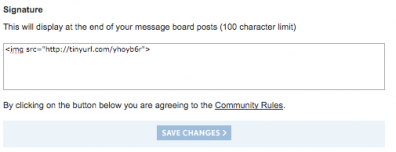
And you're done!
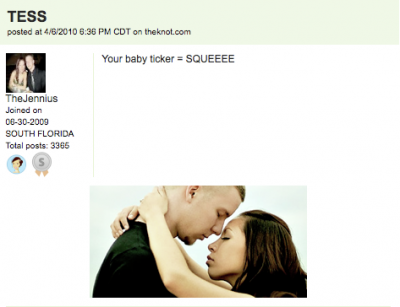
The finished product :)
HOW TO: Put a ticker in your siggy!
- Step 1: Go to http://global.theknot.com/tickers/Default.aspx
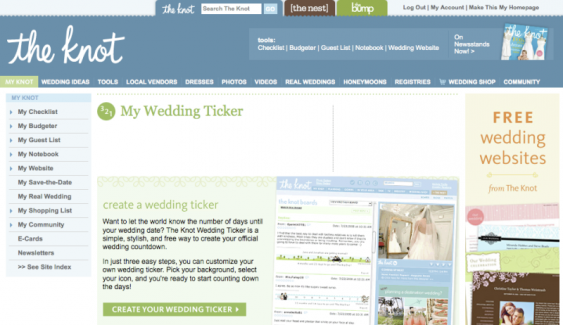
Click on 'CREATE YOUR WEDDING TICKER'
- Step 2: Create it! It's simple, choosea background, marker and your information.
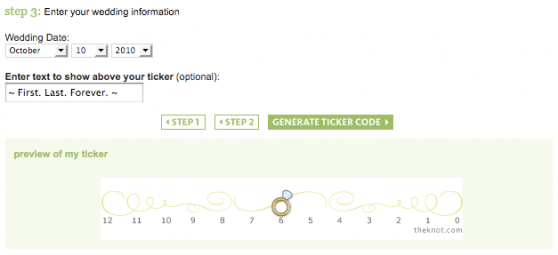
This is the last step to create it. Now click 'GENERATE TICKER CODE'
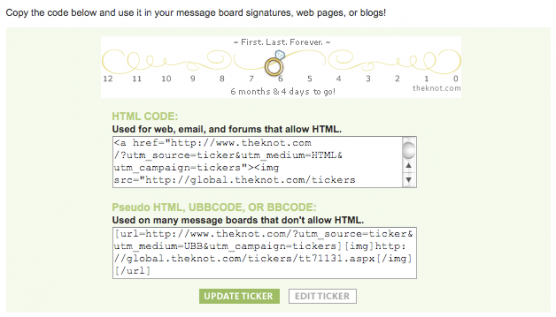
This is what you should get. Copy the HTML code (don't even look at the Pseudo HTML, UBBCODE or BBCODE!)
- Step 3: Go to the board, look at the menu on the left (if you've done your picture in siggy, you already know this!), click on "Update Signature".

Clicking 'Update Signature' takes you to this:

A zoom in:

Clicking 'EDIT MY AVATAR & SIG' opens a new window, which looks like this:

- Step 4: Paste the code, and make sure to put <br><br> between your picture HTML code and your ticker's code (the <br> means "break" or the equivalent of an "enter", this will help not have everything mushed up in your siggy). Click "Save Changes" and you're done!
Final product, the ticker!
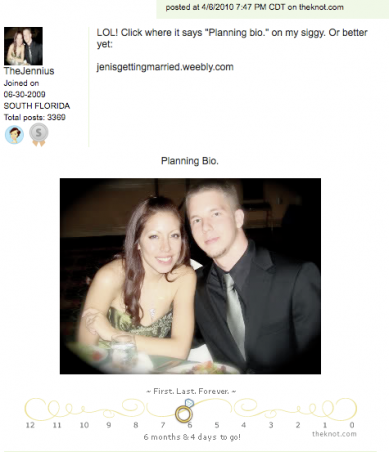
HOW TO: Put your bio link in your siggy.
- Step 1: Well, have a bio. Weebly.com works wonders! Now, know your bio's URL. For example, mine is http://jenisgettingmarried.weebly.com
- Step 2: Go to the board and click on "Update Signature", which is on the blue menu to the left. It looks like this:
Clicking on 'Update Signature' will take you here:

A zoom in:

Click on 'EDIT MY AVATAR & SIG', and it will open a new window, which will look like this:
- Step 3: Depending where you want your bio link, paste your bio's URL. For this tutorial, I'm going to do it on top of my siggy pic. This is the code to link your bio:
<a href="http://jenisgettingmarried.weebly.com"><u>Planning Bio</u></a>
Replace my bio's URL with your own (or else you'll be linking other knotties to my bio!), and you can change the text of "Planning Bio" to whatever you want it to say. Also, for your information, the <u></u> part of the code is to underline the text, so other knotties can see it's a link without having to hover their mouses over the word.
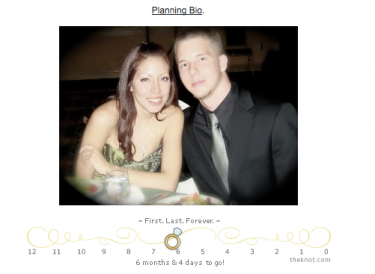
After following all three siggy tutorials, this is how it should look!
